Microsoft Teams is a popular communication and collaboration platform that allows users to chat, share files, and hold virtual meetings. One of the key features of the platform is its ability to integrate with a wide variety of third-party apps and services, including bots.
Automated programs called bots perform a variety of tasks, such as answering questions, providing information, and helping users navigate the platform. Users can utilize Microsoft Teams bots to automate repetitive tasks, streamline communication, and enhance productivity.
One of the most popular use cases for bots on Microsoft Teams is as a virtual assistant. These bots can help users schedule meetings, manage tasks, and access information quickly and easily. For example, the T-Bot bot that comes pre-installed with Microsoft Teams can help users learn how to use the platform and find answers to common questions.
Another popular use case for bots on Microsoft Teams is as a way to automate workflows and processes. For example, users can employ a bot to create and track support tickets automatically, or to assist them in submitting and approving expenses.
Furthermore, the functionality of other apps and services integrated with Microsoft Teams can be enhanced using bots. For instance, a bot can provide real-time updates on project status or notify users of newly shared content.
Developing a bot for Microsoft Teams is a relatively straightforward process, achievable through the utilization of the Microsoft Bot Framework. This framework offers a range of tools and services that facilitate the construction, testing, and deployment of bots on the platform.
In conclusion, Microsoft Teams bots are a powerful tool for automating tasks, streamlining communication, and improving productivity. Whether you’re looking to create a virtual assistant, automate workflows, or enhance the functionality of other apps and services, bots on Microsoft Teams can help you achieve your goals.
Prerequisites
To develop a bot for Microsoft Teams, you will need a basic understanding of programming and a working knowledge of the Microsoft Bot Framework.
- Programming Skills: To develop a bot for Microsoft Teams, you will need a basic understanding of programming concepts such as variables, loops, and functions. Proficiency in a programming language like C# or JavaScript is essential since the Microsoft Bot Framework employs these languages for bot development.
- Knowledge of the Microsoft Bot Framework: The Microsoft Bot Framework is a comprehensive collection of tools and services specifically designed for constructing, testing, and deploying bots on the Microsoft Teams platform. Familiarity with the framework, including its components and APIs, is essential for developing a bot for Microsoft Teams.
- Understanding of RESTful API: To create bots for Microsoft Teams, developers utilize the RESTful API, which serves as a communication method between various systems. Understanding the basics of RESTful API will help you to understand how the bot interacts with Microsoft Teams, and how to send and receive messages.
- Familiarity with Azure: Azure is Microsoft’s cloud computing platform and is used to deploy and run bots. Familiarity with Azure and its services such as Azure App Service and Azure Cognitive Services will be helpful while building bots.
- Understanding of Bot Development concepts: Understanding concepts such as natural language processing, conversational flow, and machine learning will help you in building bots that can understand and respond to user inputs.
- Familiarity with Git and CI/CD: Familiarity with Git and Continuous Integration and Deployment (CI/CD) is helpful in version controlling the code, and deploying the bot to Microsoft Teams.
In summary, to develop a bot for Microsoft Teams, you will need a basic understanding of programming, knowledge of the Microsoft Bot Framework and RESTful API, familiarity with Azure, and understanding of bot development concepts and Git and CI/CD.
Environment Setup
To set up your development environment for building a bot for Microsoft Teams, you will need to install the following:
- Visual Studio Code (or your preferred development environment)
- Node.js: To run the bot locally, you will need to have Node.js installed on your development machine.
- Bot Framework Emulator: This is a desktop application that allows you to test your bot locally without having to deploy it to Microsoft Teams.
- Azure Functions Core Tools: These tools allow you to create, test and debug Azure Functions locally.
- Microsoft Teams App Studio: This tool allows you to create and manage apps for Microsoft Teams, including bots.
- Git: Git is a version control system that lets you keep track of code changes and collaborate with other developers.
- ngrok: Ngrok is a tool that creates a secure public URL for your local webhook endpoints, which allows you to test your bot in Microsoft Teams.
Once you have installed all the above, you will also need to set up an Azure account, create a new Azure Function and configure it to work with the bot.

Teams Toolkit Extension
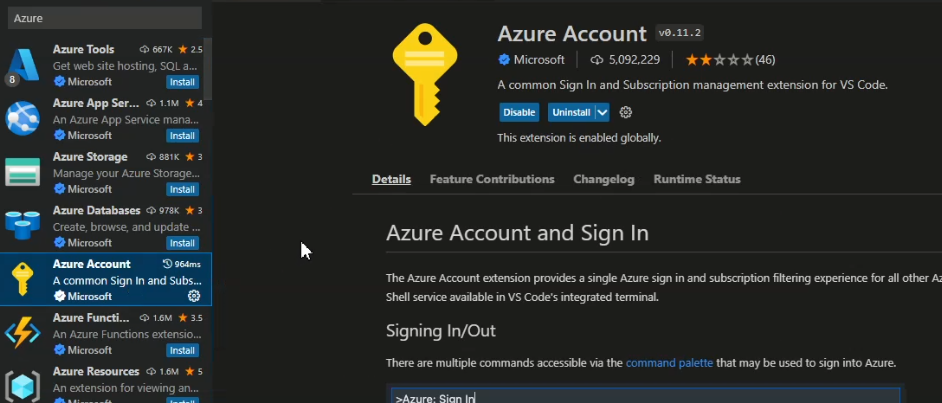
Azure Account Extension
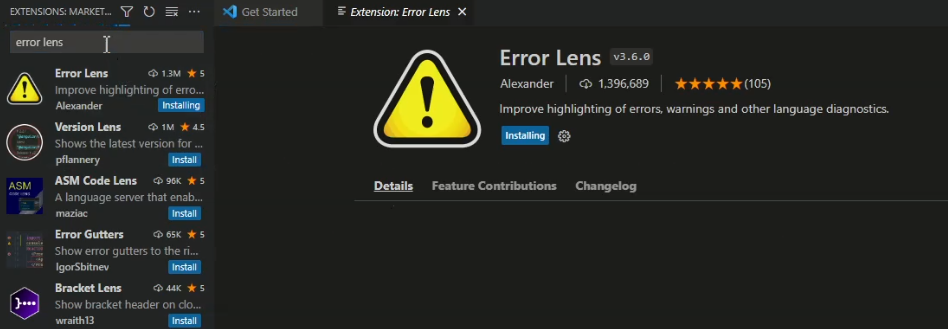
Error Lens Extension
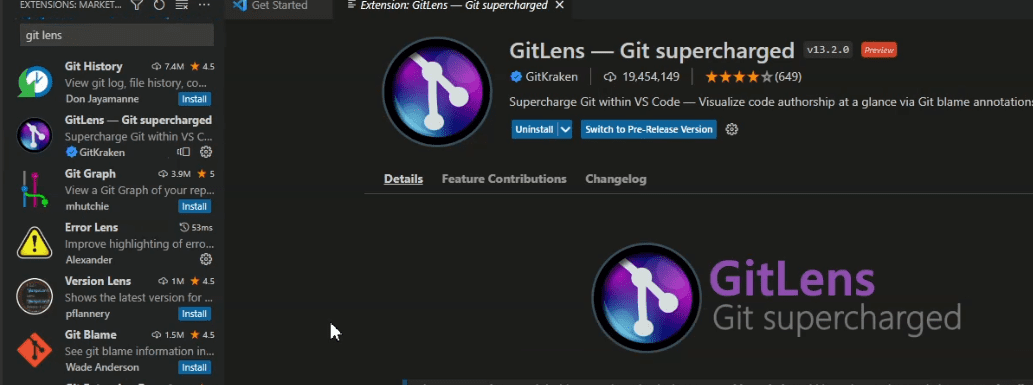
GitLens Extension
o set up the development environment for creating bots, you will need to install the following components: Visual Studio Code, Node.js, Bot Framework Emulator, Azure Functions Core Tools, Microsoft Teams App Studio, Git, and ngrok. These installations will provide the necessary tools and resources for a smooth development process.
Starting with the hello world app
Navigate to your home screen after installing all the packages or you will be having an icon for the teams tool kit on the left side of vs code. On navigating to the teams toolkit you can find the attached screen.
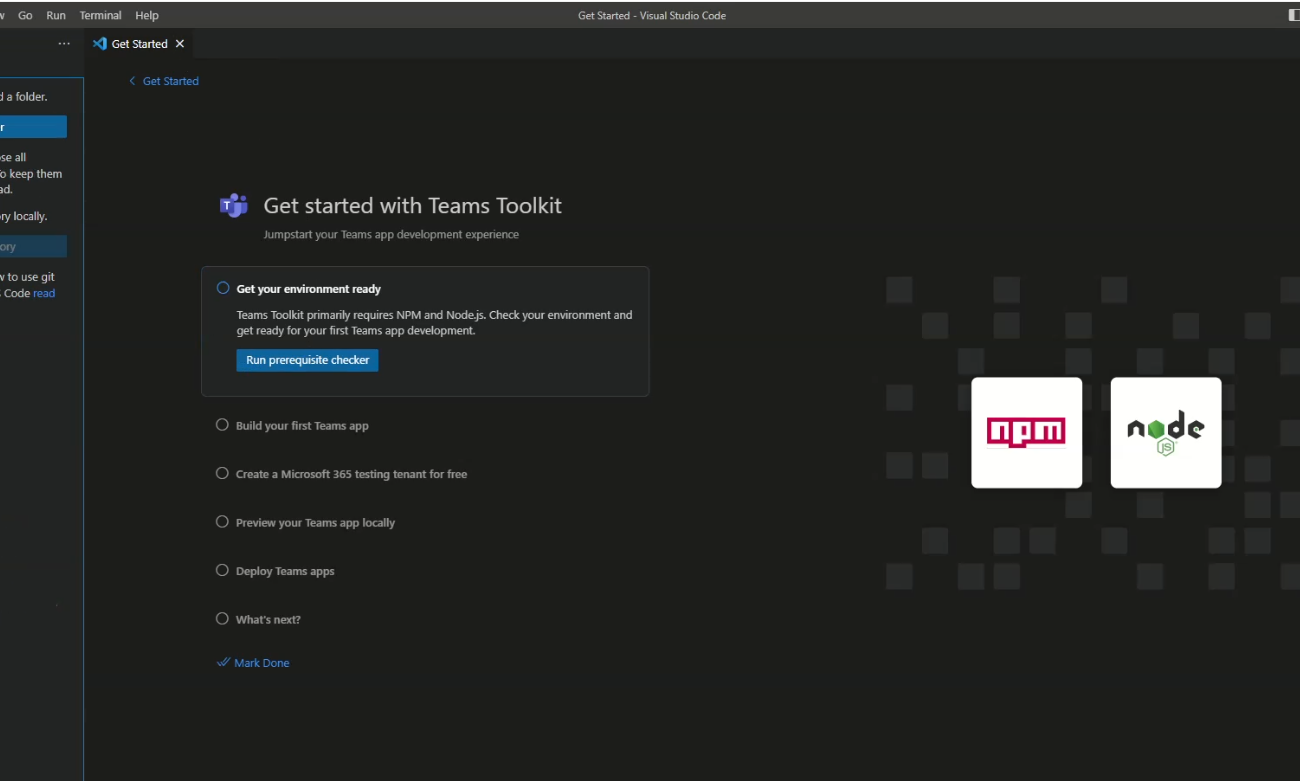
1.View of teams toolkit.

2. Starting creation of the Application.

3. Select a fresh start or use a ready-made template.

4. Different options and capabilities.
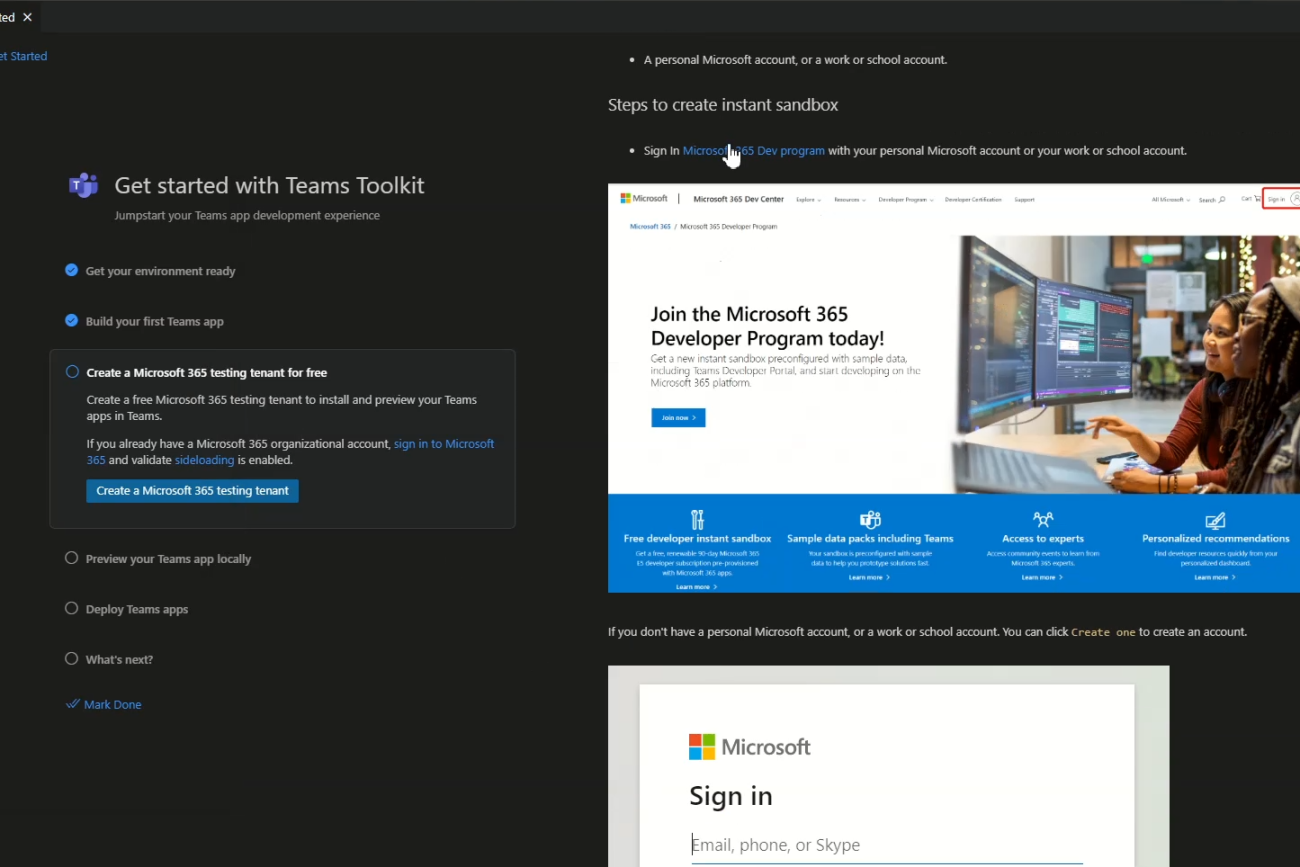
5. Complete tutorial can be seen on the right side (Scrollable).
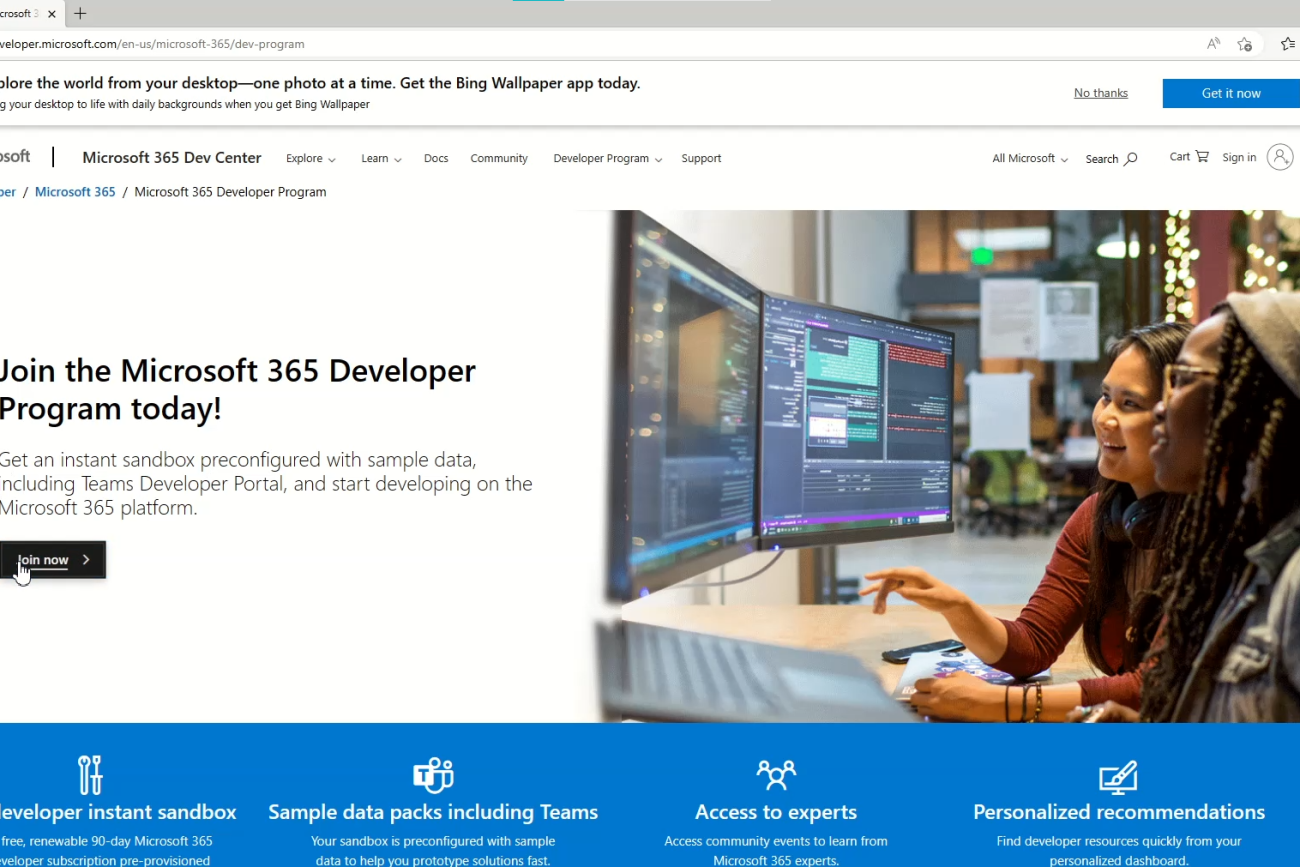
6. Microsoft Developers Portal. Create your account for free.
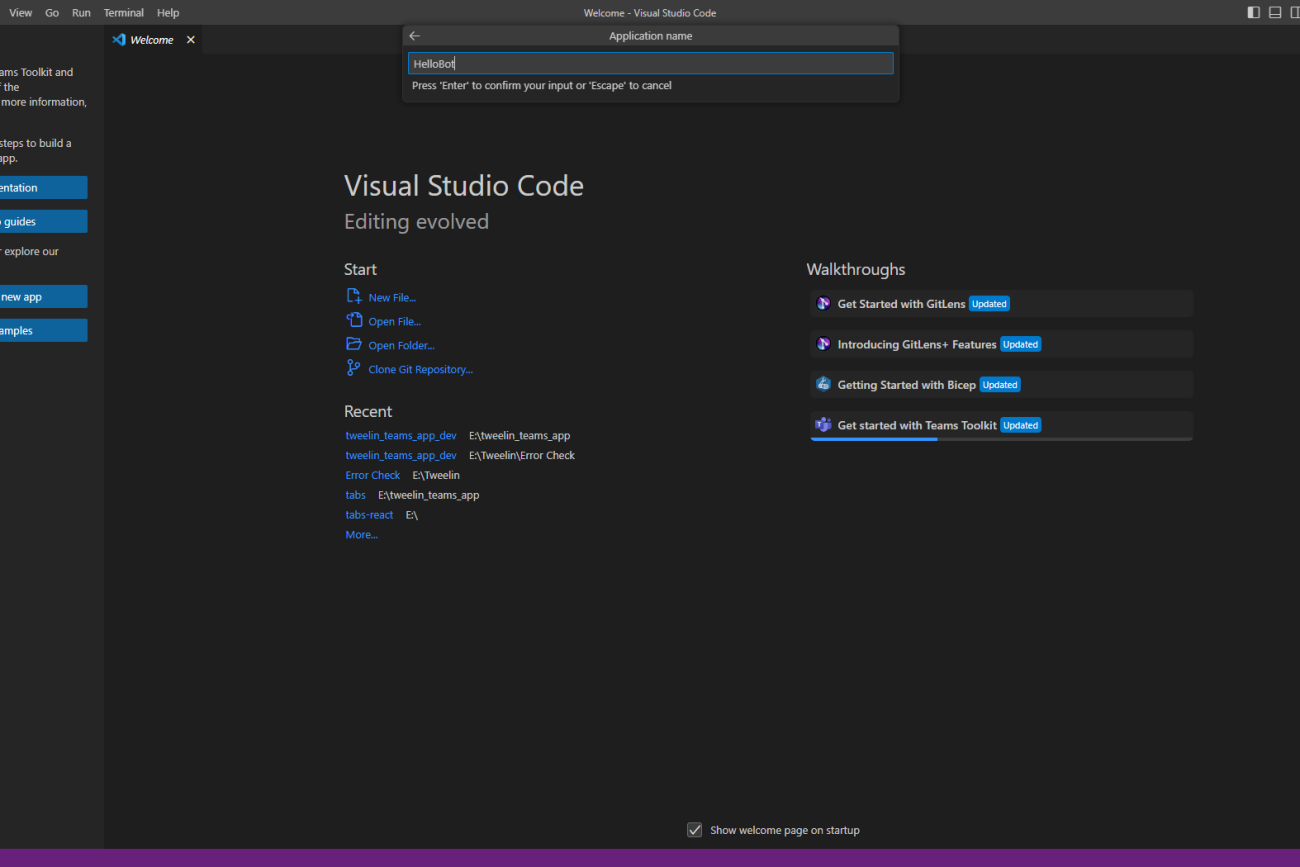
7. Final step in project creation.
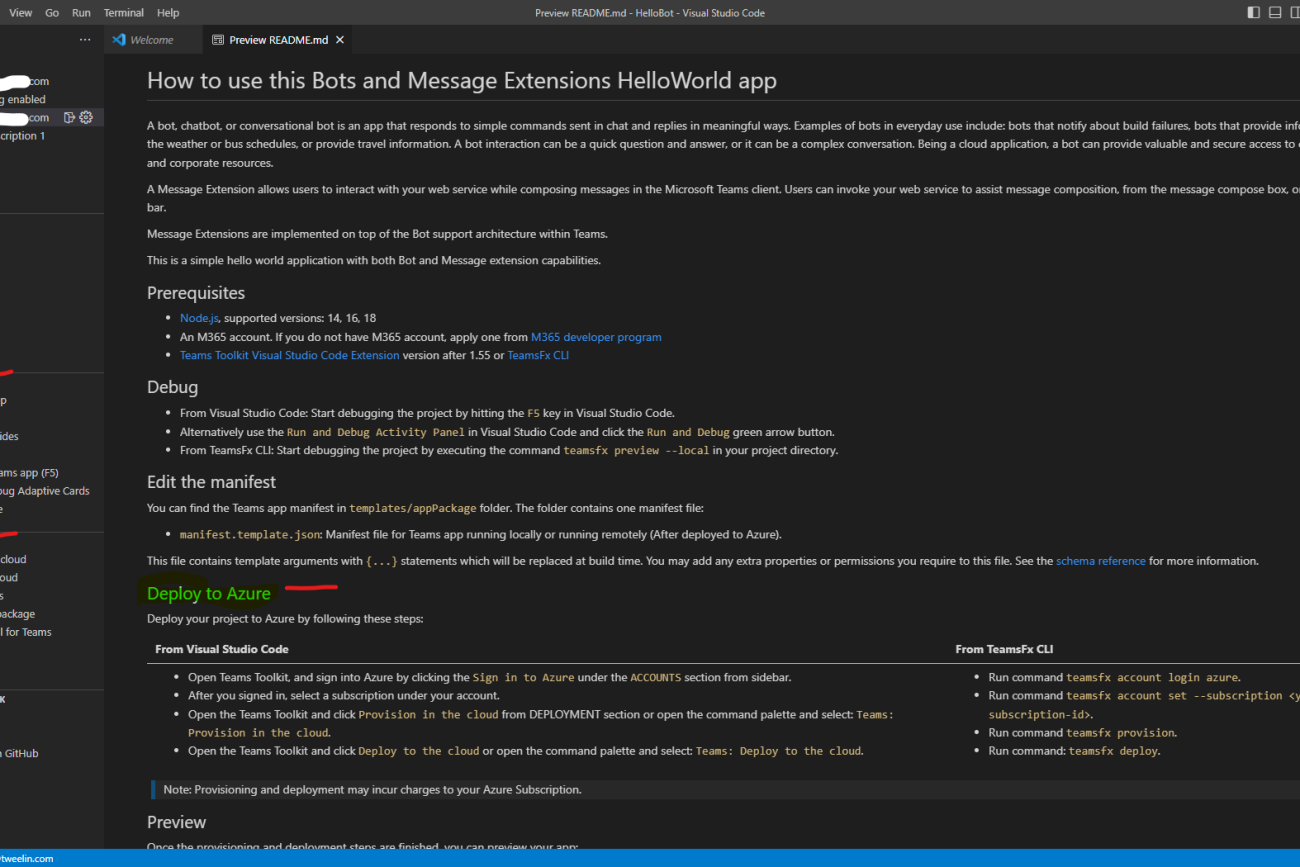
8. View after the project is created.
Navigate to your home screen after installing all the packages or you will be having an icon for the teams tool kit on the left side of vs code. On navigating to the team’s toolkit you can find the attached screen. Here all the steps and clarifications will be generated to your readme file as per the latest version and instructions.
On the left sidebar, you can find options for account, environment, development, and deployment.
You will require a Microsoft 365 developer account and as your account with your subscription that allows you to create a boat this is a free subscription and you will get an option to create during the creation of a Microsoft 365 testing tenant.
After signing in when you proceed to test your application, the team’s tool kit will automatically import your credentials and required resources from Azure and populate them in the environment file.
You can explore these options based on your requirement.
Testing your Teams app
npm start
   or
ctrl + F5
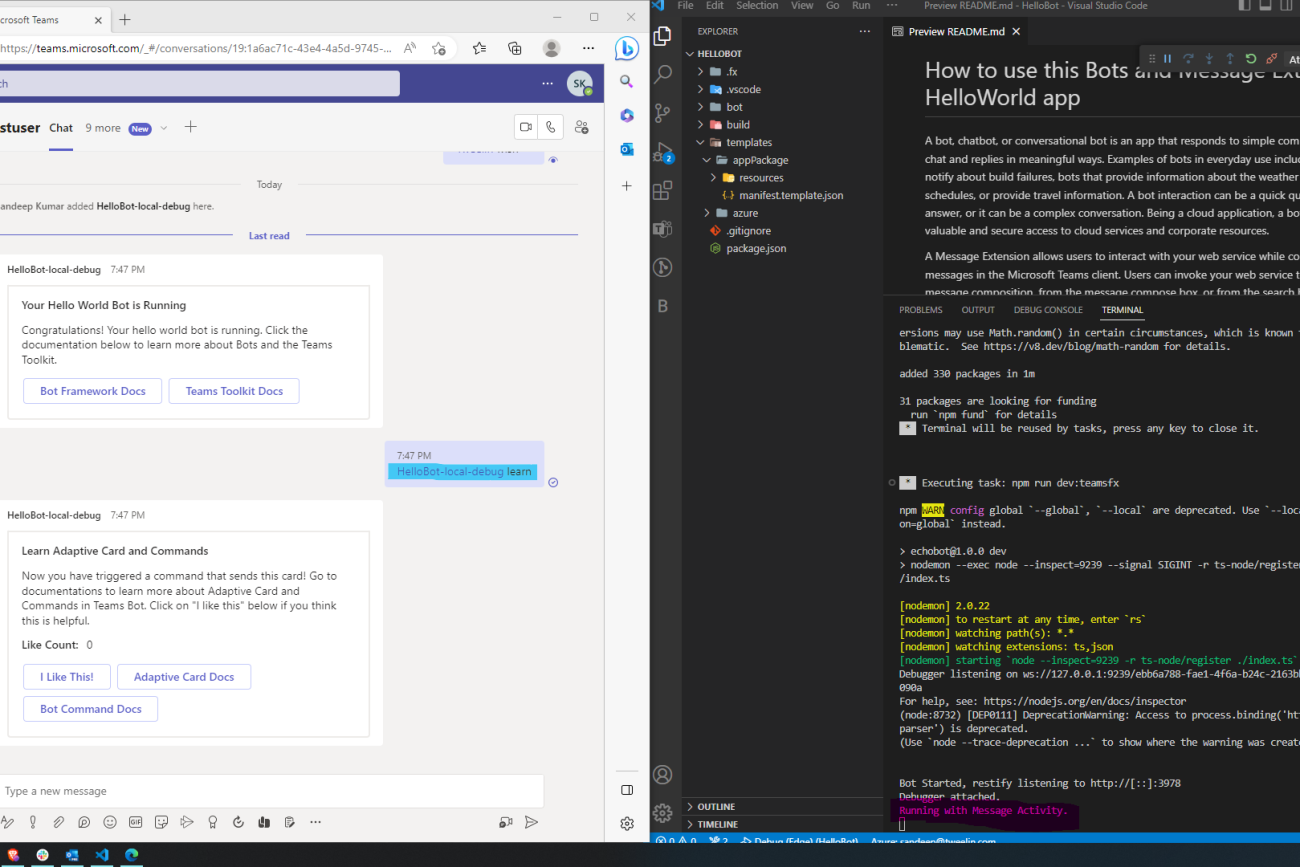
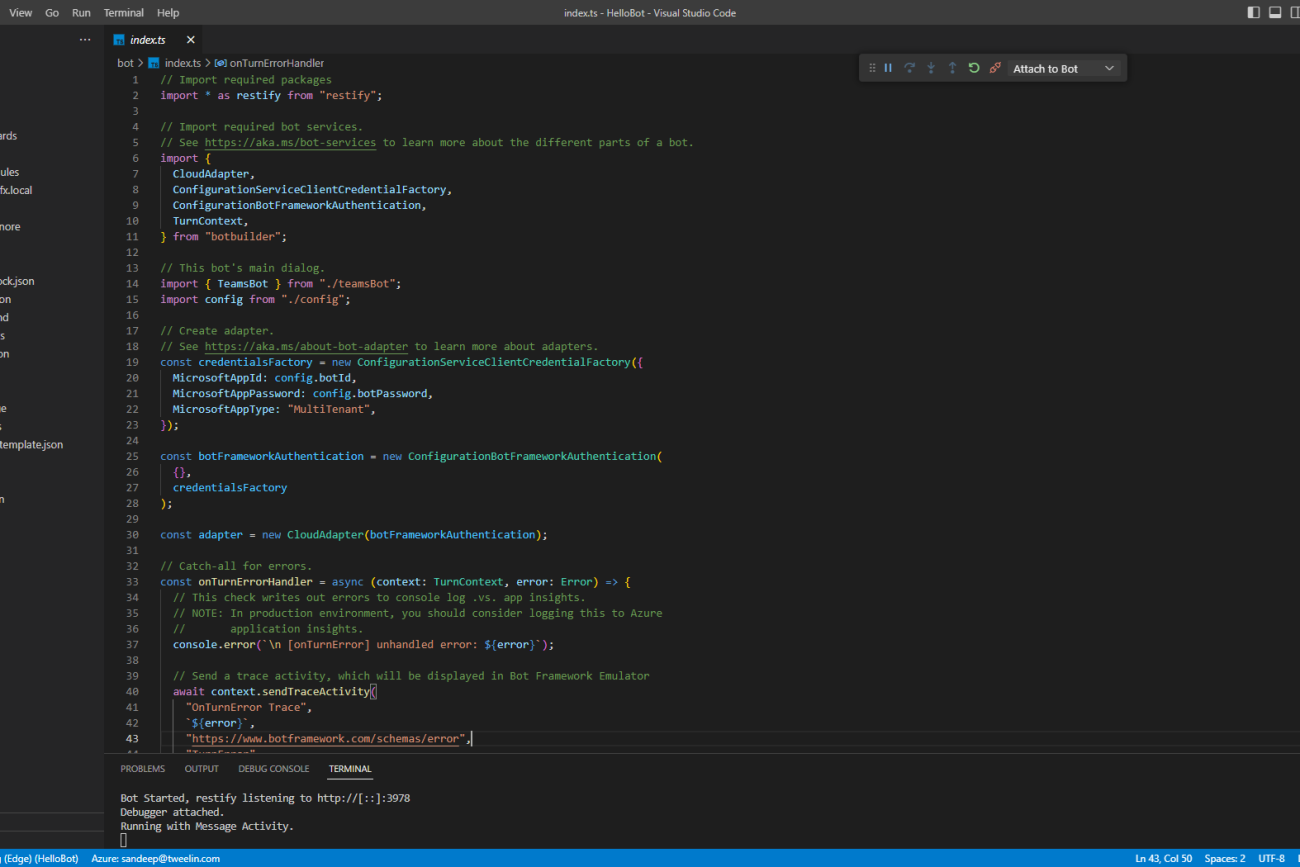
This command will start the development server and launch your Teams app in a new browser window. You can test your bot and tabs feature locally by interacting with your app in the Teams web client or desktop app.
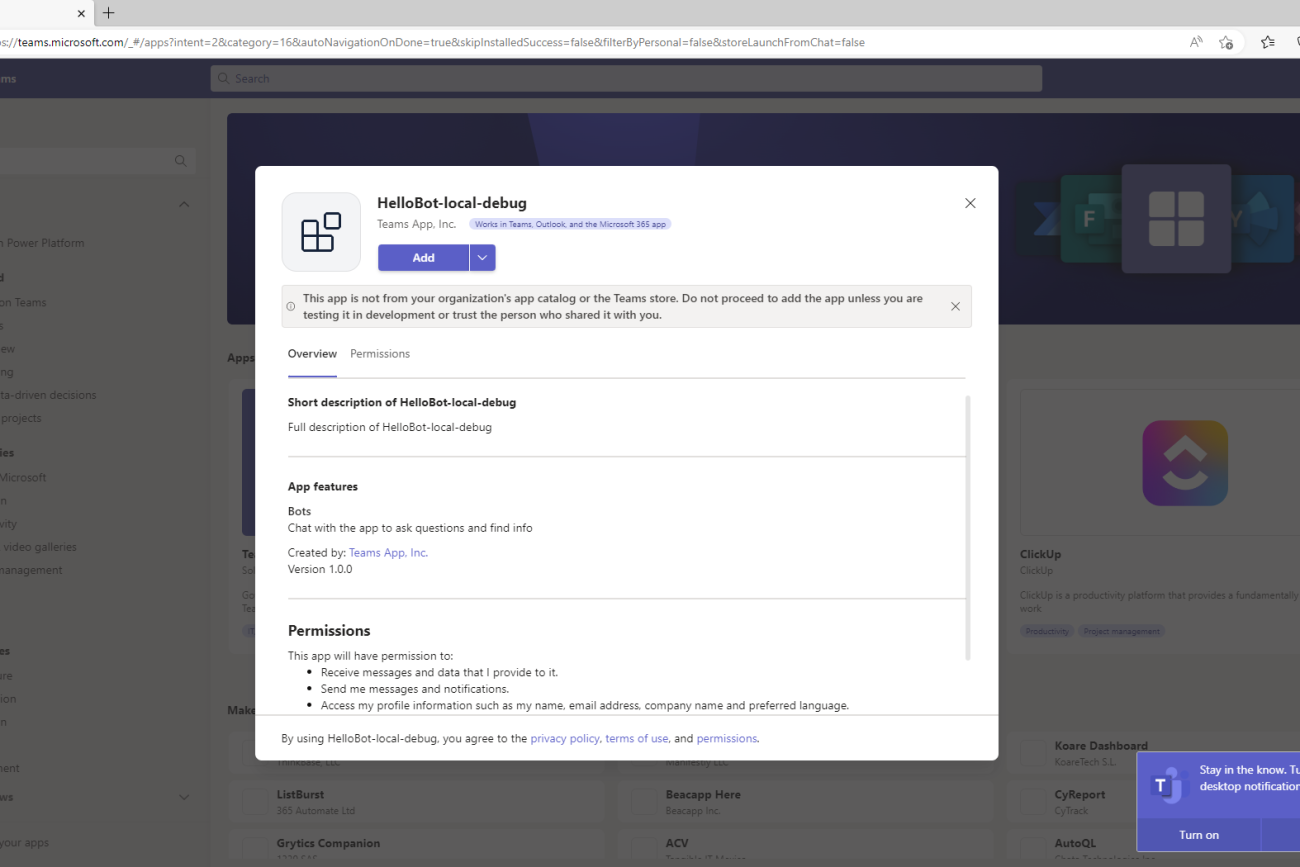
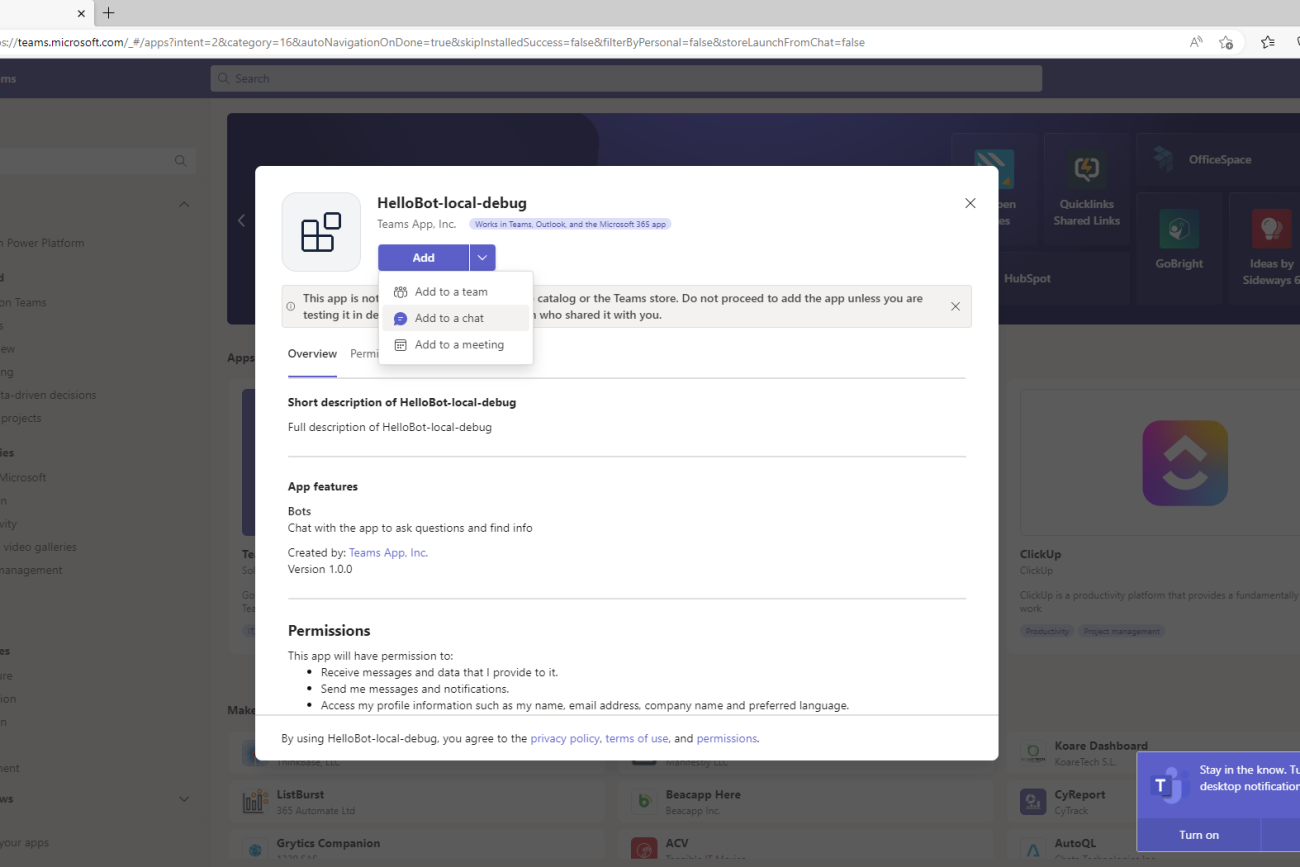
To test your Teams app, you will need to install the app in a Teams environment. Follow these steps to install your app in Teams:
- Go to the “App Studio” app in Teams and click on the “Manifest editor” tab.
- Click on the “Import an existing app” button and select the
manifest.jsonfile from yourteams-appdirectory. - Follow the prompts to install your app in Teams.
- Once your app is installed, you can test your bot and tabs features by interacting with your app in a Teams channel or chat.
Deployment
The steps to deploy your Teams app with bot and tabs features:
Building your app
Before deploying your app, you will need to build it to generate the necessary files. Use the following command to build your app:
This command will create a dist folder in your project directory containing the necessary files for deployment.
npm run build
Creating a new Azure resource group
To deploy your app, you must create a new Azure resource group. Follow these steps to create a new resource group:
- Go to the Azure portal and sign in with your credentials.
- Click on “Resource groups” in the left-hand menu.
- Click on the “+ Add” button to create a new resource group.
- Provide a name and select a region for your resource group.
- Click on the “Review + Create” button to create your resource group.
Creating an Azure bot registration
To deploy your bot, you will need to create an Azure bot registration. Follow these steps to create a new bot registration:
- Go to the Azure portal and sign in with your credentials.
- Click on “Bot Services” in the left-hand menu.
- Click on the “+ Add” button to create a new bot registration.
- Provide a name and select your resource group.
- Choose the appropriate pricing tier and location for your bot.
- Select “App Service plan/Container” as the hosting option and choose a plan.
- Click on the “Create” button to create your bot registration.
Creating an Azure Web App
To deploy your Teams app with tabs, you will need to create an Azure Web App. Follow these steps to create a new Web App:
- Go to the Azure portal and sign in with your credentials.
- Click on “App Services” in the left-hand menu.
- Click on the “+ Add” button to create a new Web App.
- Provide a name and select your resource group.
- Choose the appropriate runtime stack (Node.js) and version for your app.
- Select “Windows” as the operating system and choose a region.
- Click on the “Review + Create” button to create your Web App.
Deploying your app to Azure
To deploy your Teams app with bot and tabs features to Azure, follow these steps:
- Go to the “Deployment Center” tab in your Web App’s settings in the Azure portal.
- Select “Local Git” as the deployment method and click the “Continue” button.
- Follow the prompts to create a new deployment user and configure your Git repository.
- Once you have configured your Git repository, use the following commands to push your app to Azure:
Conclusion
These are the steps that are required to create your own hello world app. From here onwards you can write your own logic to handle the messages sent by the user. You can either process and return a value or send it to the server and handle the processed communication. An AI chatbot can also be added to teams and various other associated channels like Slack, Telegram, Microsoft 365, and many more using this Bot Framework. So if you want to create one this can be a good start.
That’s all for this one. See you in the next one. Do reach out to me if you need any clarifications. This blog will help you with Bot Framework v4, you may expect changes in version 5 and things may not align exactly. But it will be similar so you can try finding a way out. Thanks for your time and attention.

