Canvas : In computer science and visualization, a canvas is a container that holds various drawing elements (lines, shapes, text, frames containing other elements, etc.).
App : App is an abbreviated form of the word “application.” An application is a software program that’s designed to perform a specific function directly for the user or, in some cases, for another application program.
What is a canvas app?
Canvas apps empower non-technical individuals to create and develop commercial applications effortlessly. The customization of Canvas programming involves a simple process of dragging and dropping features, making it accessible to a wider range of users.
These apps find extensive application in low-code and no-code development platforms, which prioritize simplifying app creation by reducing the need for extensive programming. Such platforms come equipped with pre-filled forms, buttons, galleries, and data interfaces, streamlining the app development process.
At the heart of a canvas app lies its visual layout canvas, which defines its structure and design. Business users and citizen developers can swiftly craft and modify apps to suit their specific requirements without relying heavily on technical expertise.
The versatility of canvas apps is evident in their diverse applications, including data entry, form construction, data visualization, and process automation. Thanks to their seamless integration with databases, cloud services, and APIs, these apps can effortlessly retrieve and manipulate data from various sources, enhancing their functionality and utility.
Moreover, canvas apps are designed to be mobile-responsive, ensuring a smooth and user-friendly experience across different devices, further solidifying their appeal in today’s increasingly mobile-oriented world.
Canvas app nuts and bolts
A canvas program comprises four essential components or building blocks:
- Control Panel for the Screen
- Data Connector
- Power Screen Effects
- Power Fx
The first component is the Control Panel, which serves as the interface for the screen. Within the Control Panel, you can add various controls, such as text labels, shapes, buttons, or galleries. Each control type has its unique editable properties, encompassing features like font, color, border width, visibility, data, and button-click behaviors.
The second component, Data Connectors, simplifies data access within your Canvas App. These connectors act as bridges between the data source and the app, facilitating seamless data integration.
Power Screen Effects, the third element, can be likened to individual pages on a website, interconnected through hyperlinks. This analogy highlights the screen’s role in providing a blank canvas to which controls can be added, and an app may contain multiple screens as needed.
Lastly, Power Fx serves as the programming language utilized in Canvas Apps. This functional, low-code language resembles Excel and enables efficient app development and customization.
By integrating these four components, your Canvas App becomes a versatile and dynamic tool for creating interactive and user-friendly experiences.
Getting started with canvas apps
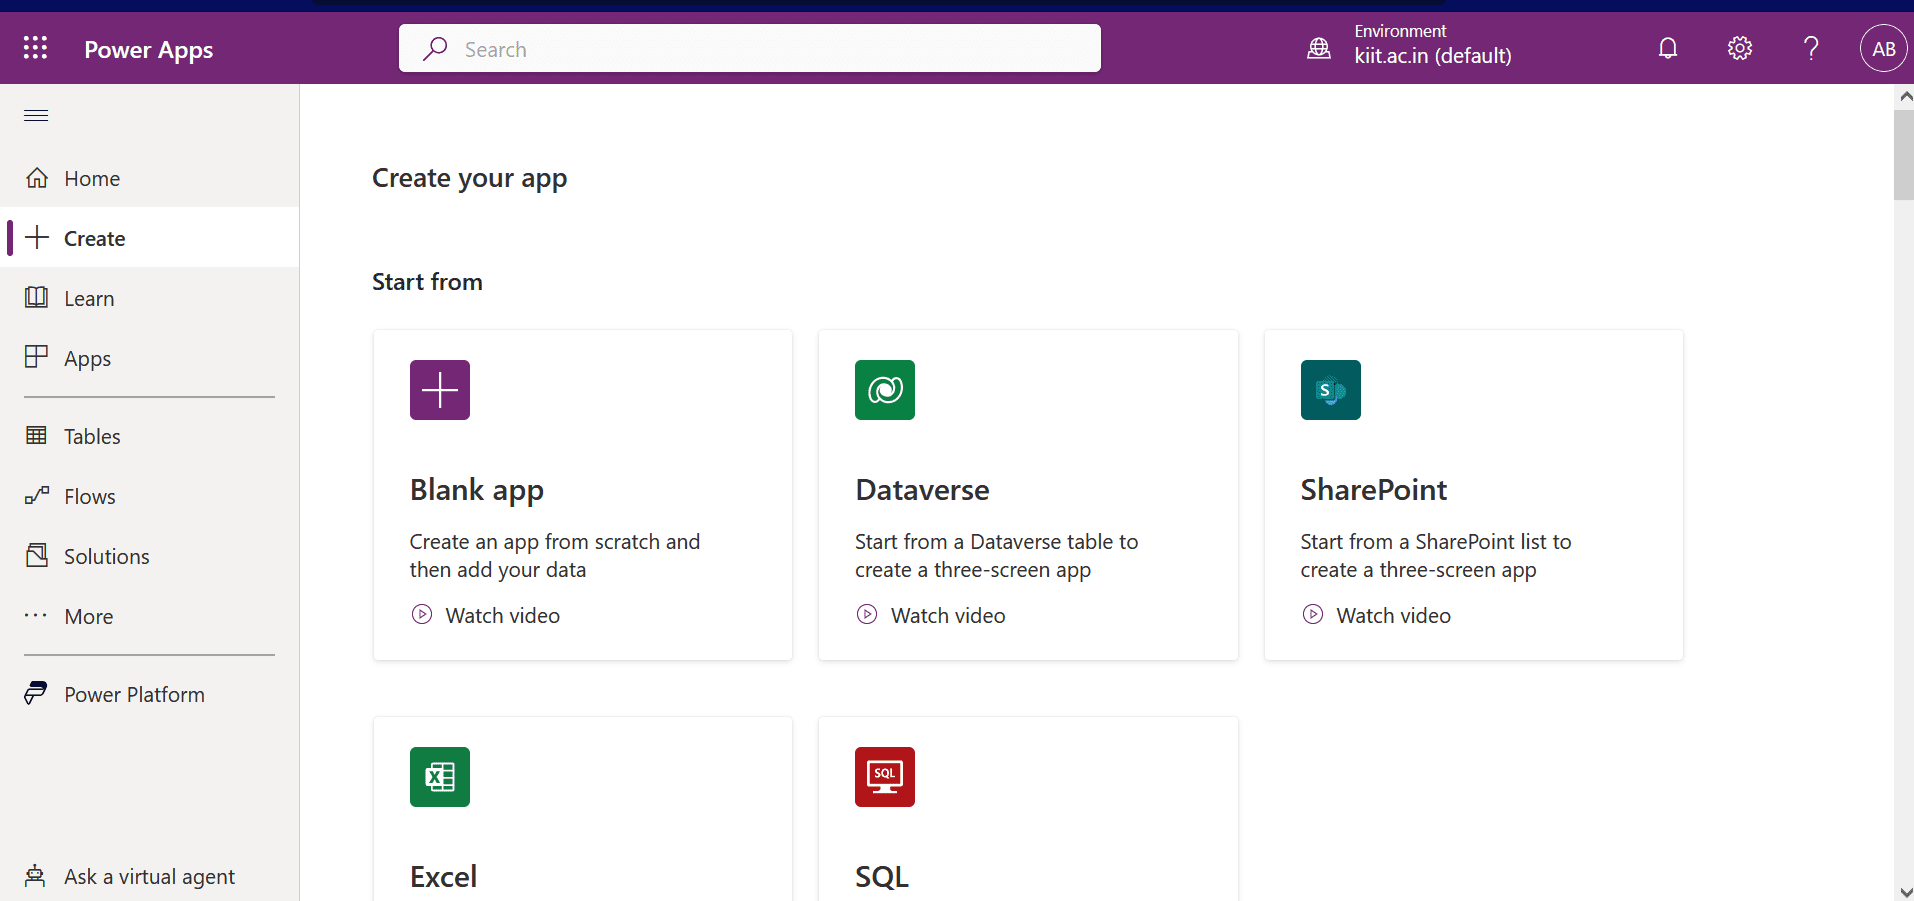
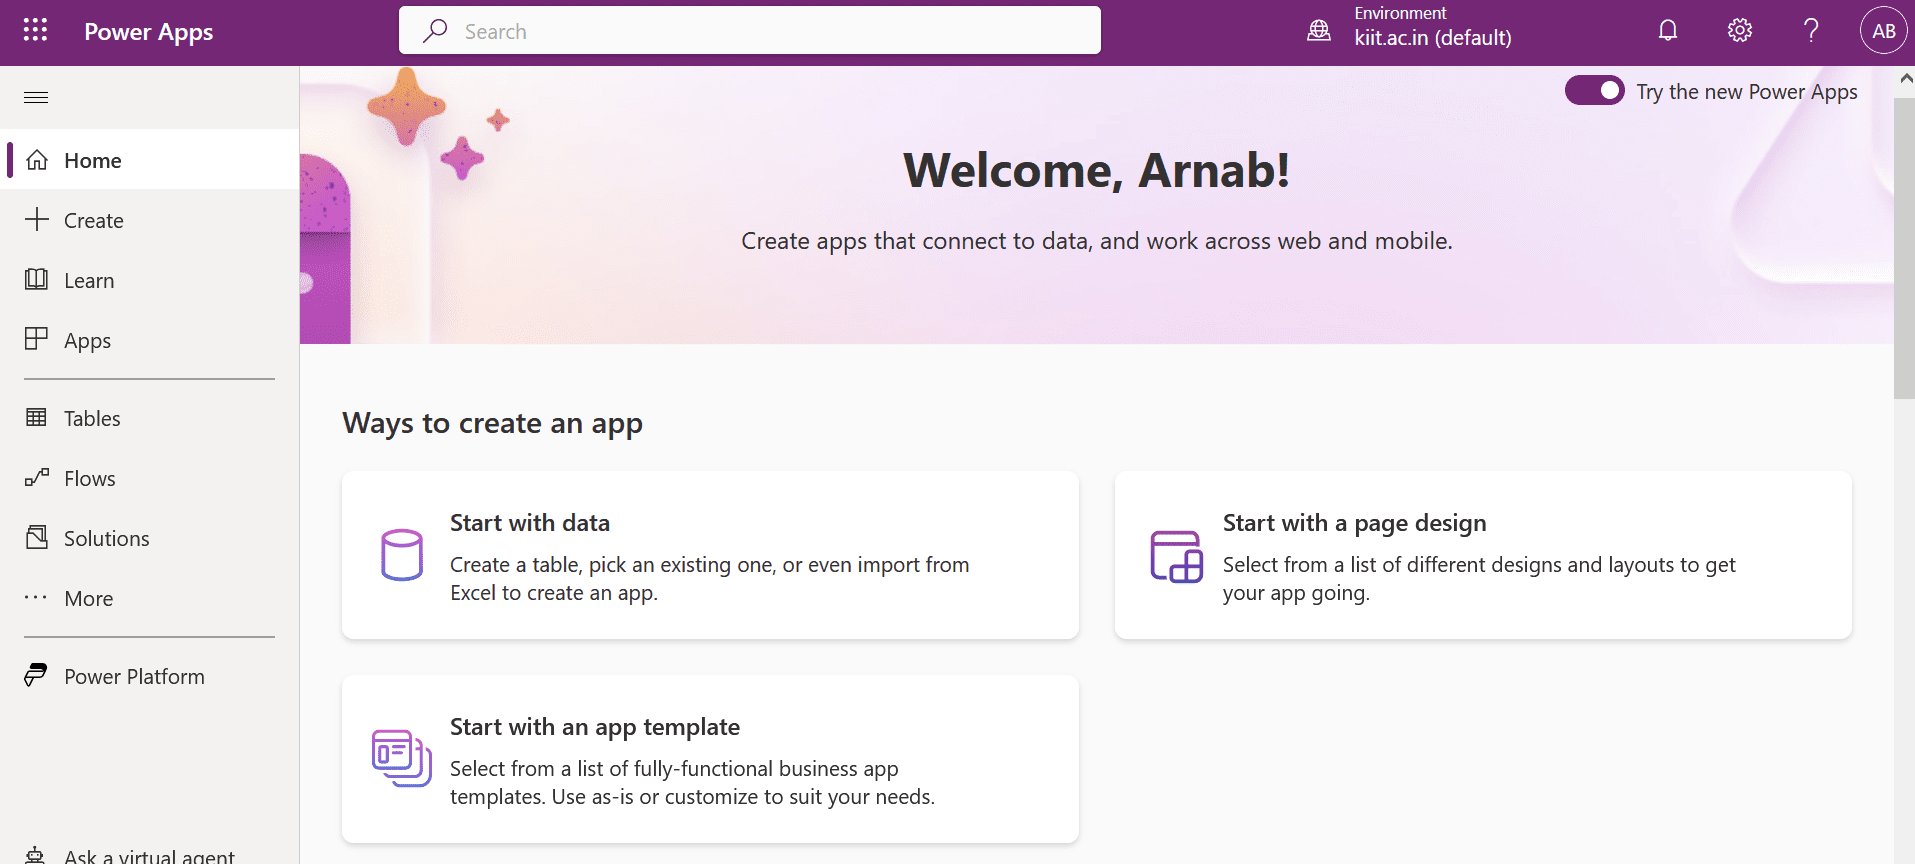
- Go to the power apps home screen by typing to make.power apps.com on your browser, then sign in with your microsoft credentials.

- Click on the ‘create’ (+) button on the left side of the screen.

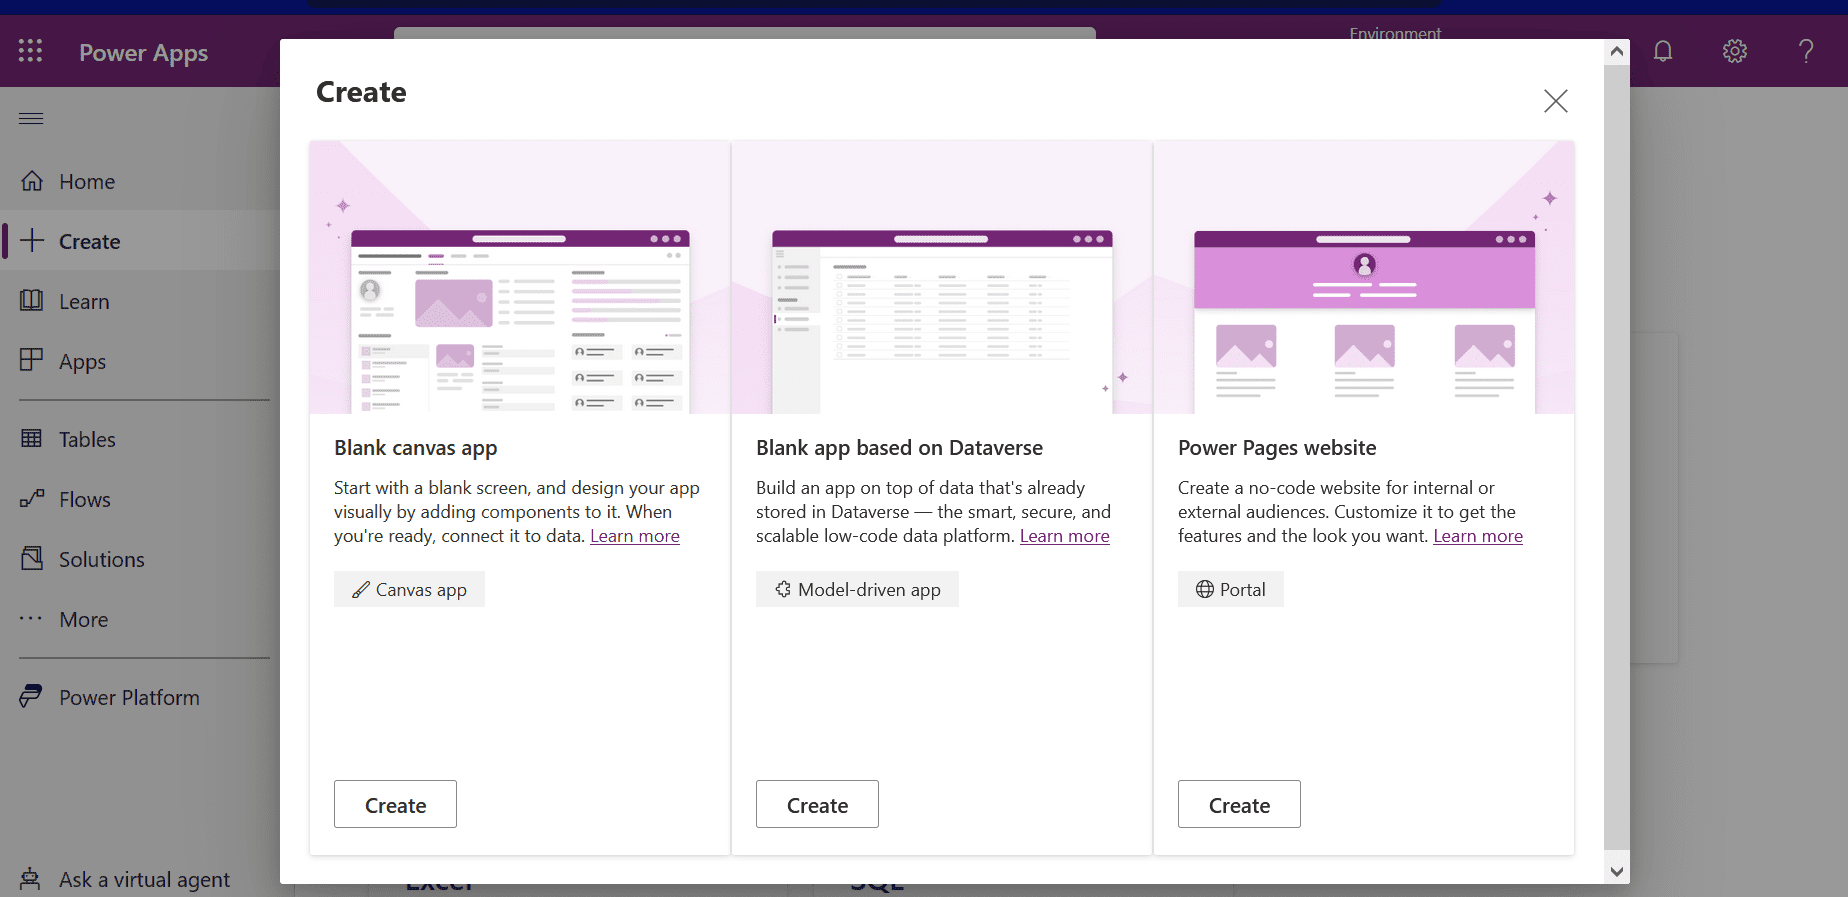
- Click on ‘Blank app’.

- Click on ‘blank canvas app’.

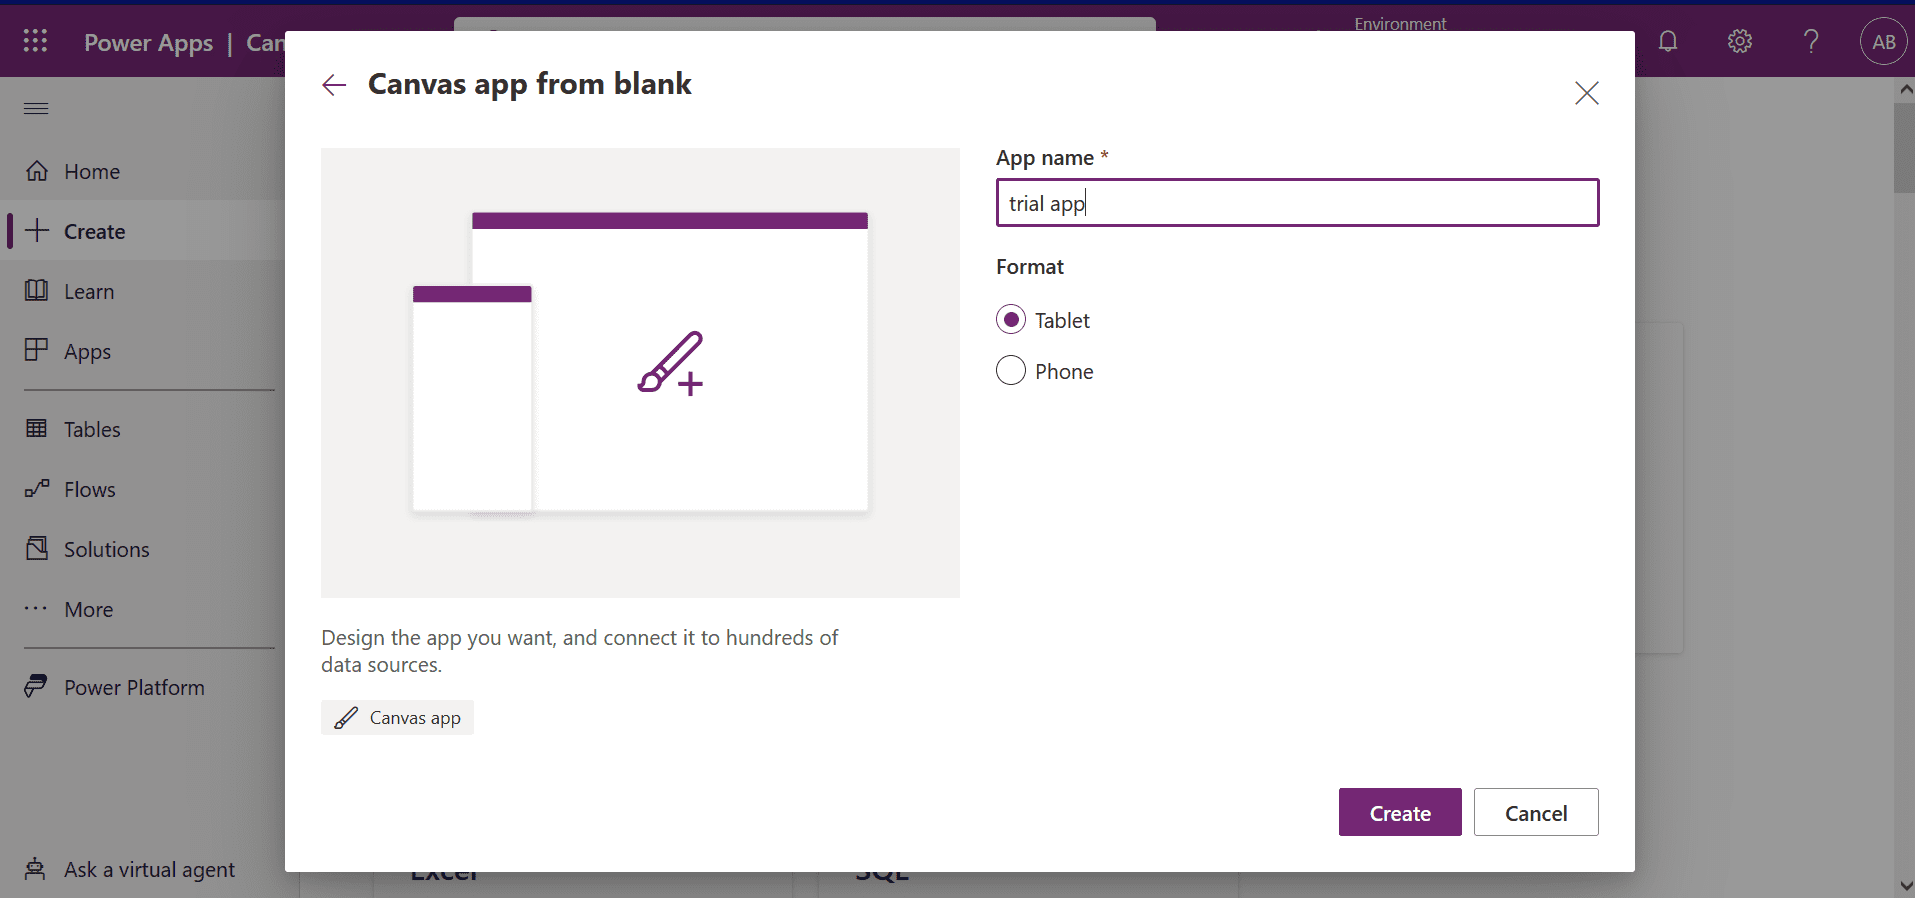
- Give your app a name, and choose either mobile or tablet format. Then click on the create button.

- This is how the development environment looks. You can click on the new screen button on the top ribbon to a screen, click on the add data button to create a connector to a data source, click on the plus icon on the left ribbon to add controls, and use formula bar (fx) to write code using power fx.
Creating a canvas app in 3 clicks
We can create a canvas app directly from a data source. The idea is to have a structured table (like an excel sheet or share point list) in the back end, and the app should create a user interface that lets us perform CRUD operations (Create, Read, Update, Delete) on this data.
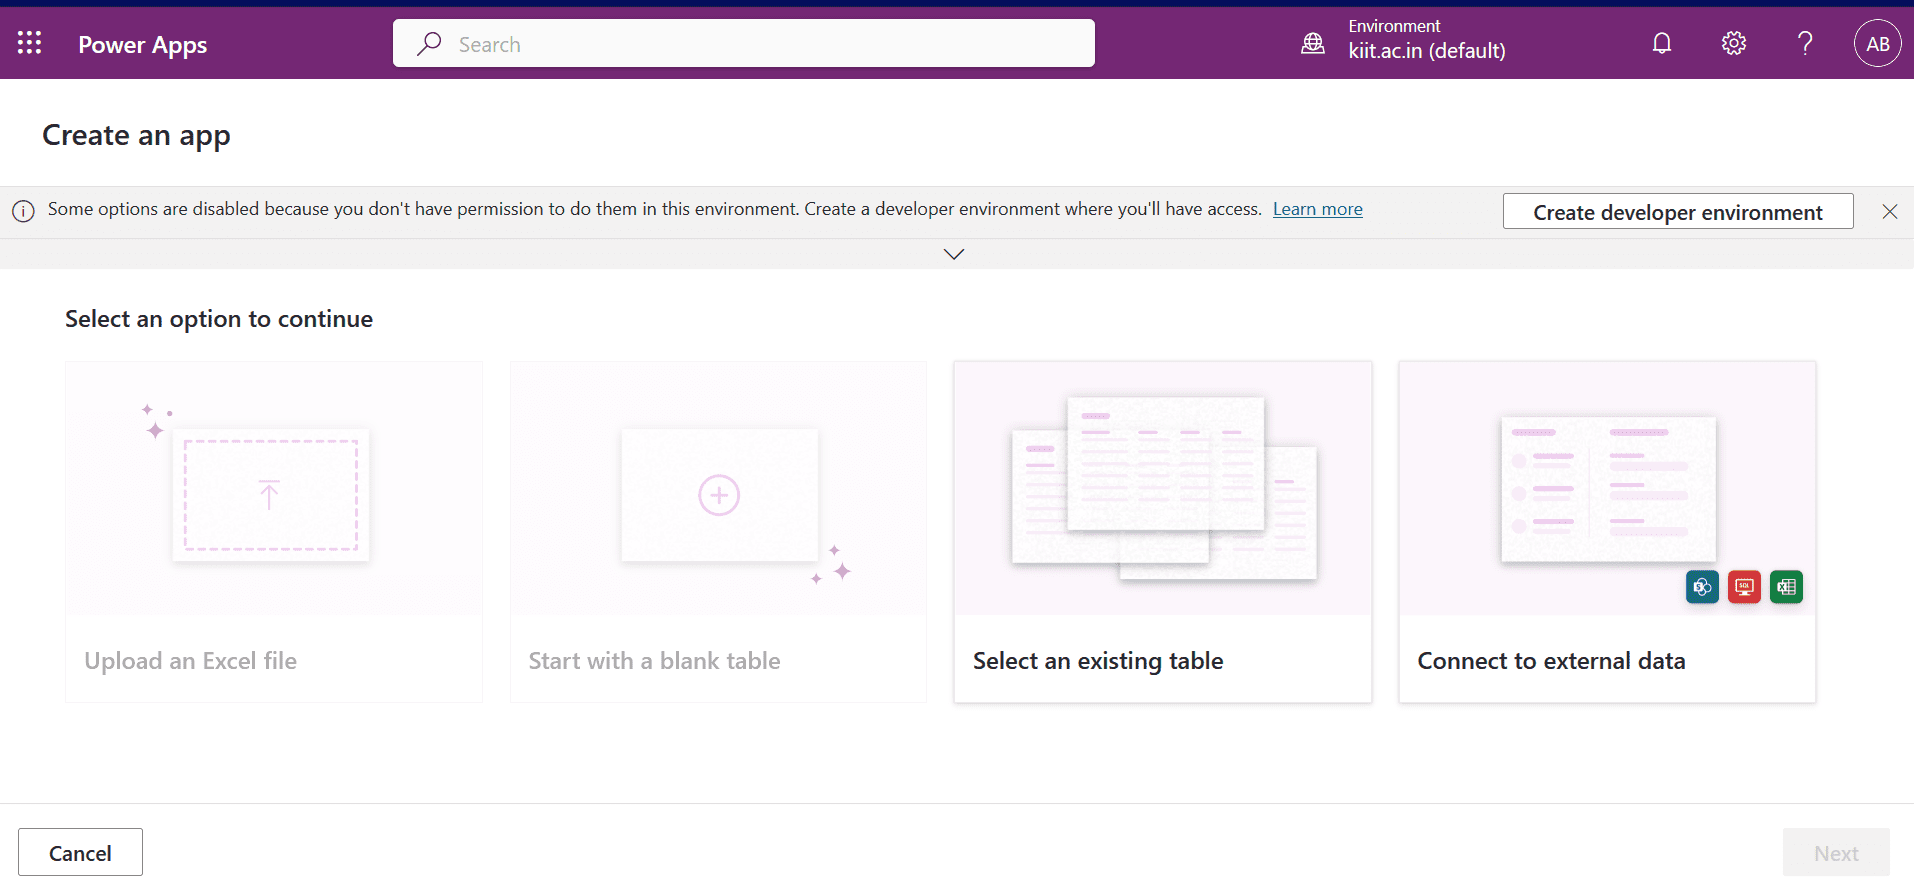
- Go to the power apps home screen and select ‘start with data’.

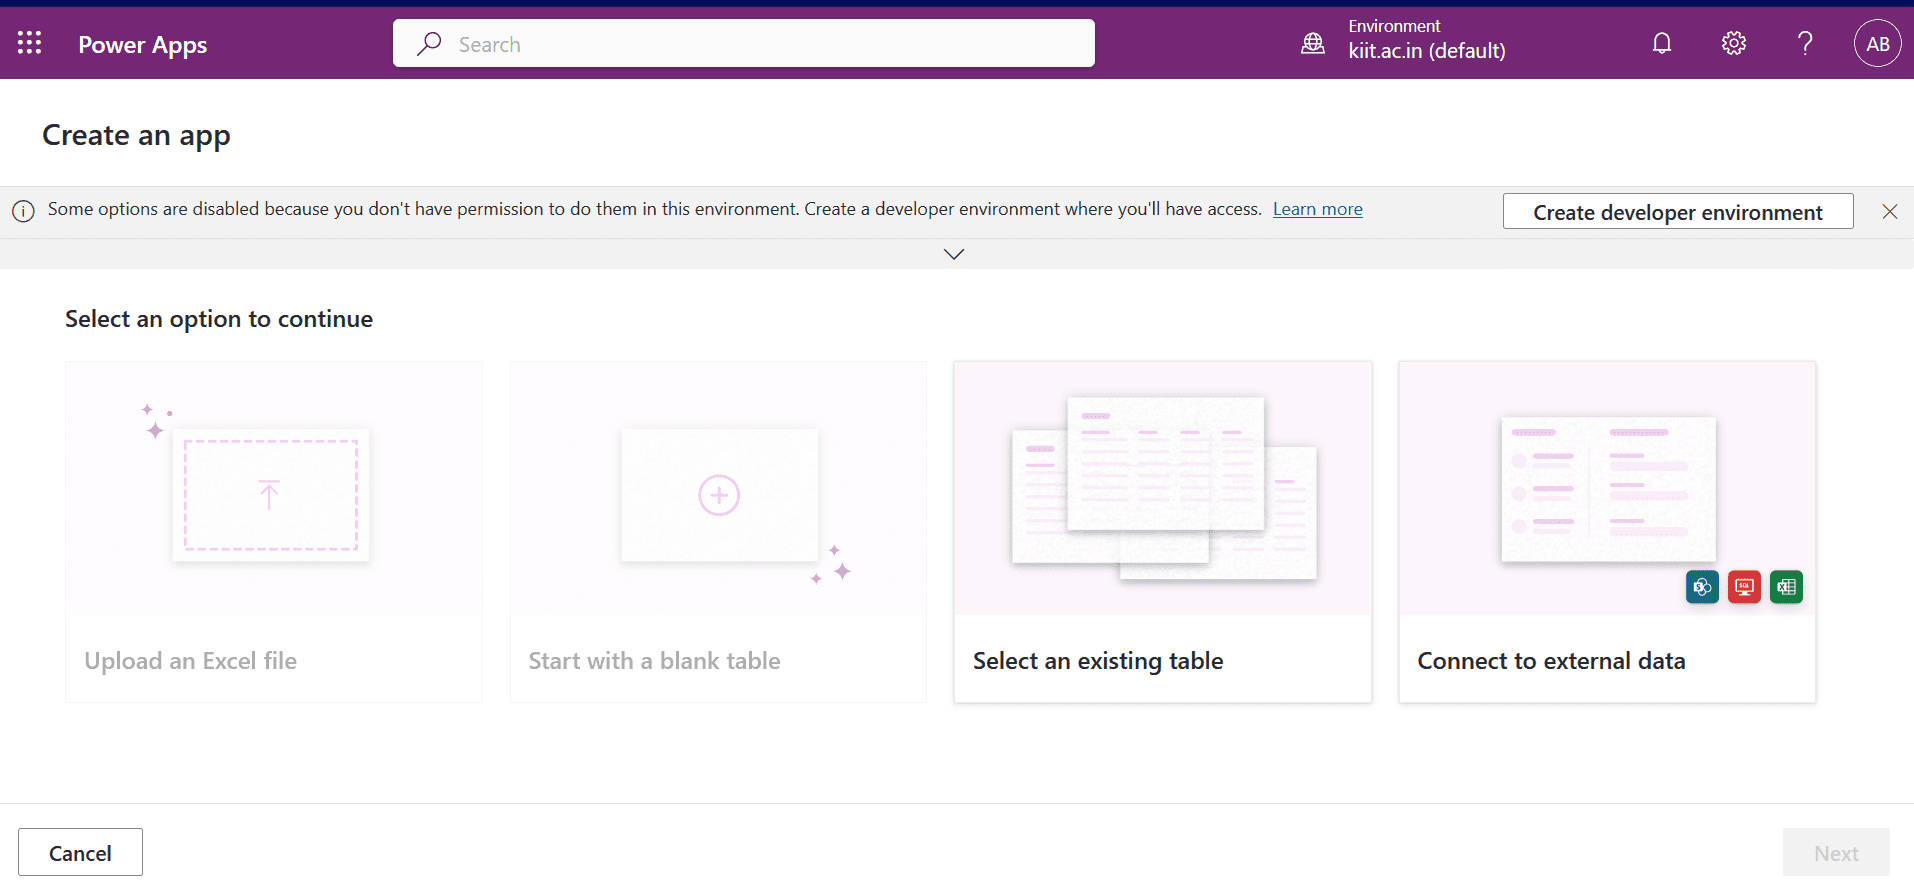
- Then you need to select the data source that you want to connect to. I’ll go with an excel file.

- Then power apps will create an app with three screens for us that can perform the basic CRUD operations.


